Tattoo healing stages kick off the moment you walk out of the shop with fresh ink. I’ve been in the tattoo world for over a decade, collecting pieces that tell my story, from bold sleeves to delicate symbols. Sharing my experiences here on the blog feels like chatting with fellow ink lovers about what really happens after the buzz of the needle stops.
Getting a tattoo isn’t just about the design—it’s the whole journey, including how your body reacts. Pain comes first during the session, then shifts to discomfort as healing begins. Let’s dive into what to expect, blending my insights with lessons from countless sessions.
Preparing for the Buzz: Tattoo Pain by Body Part
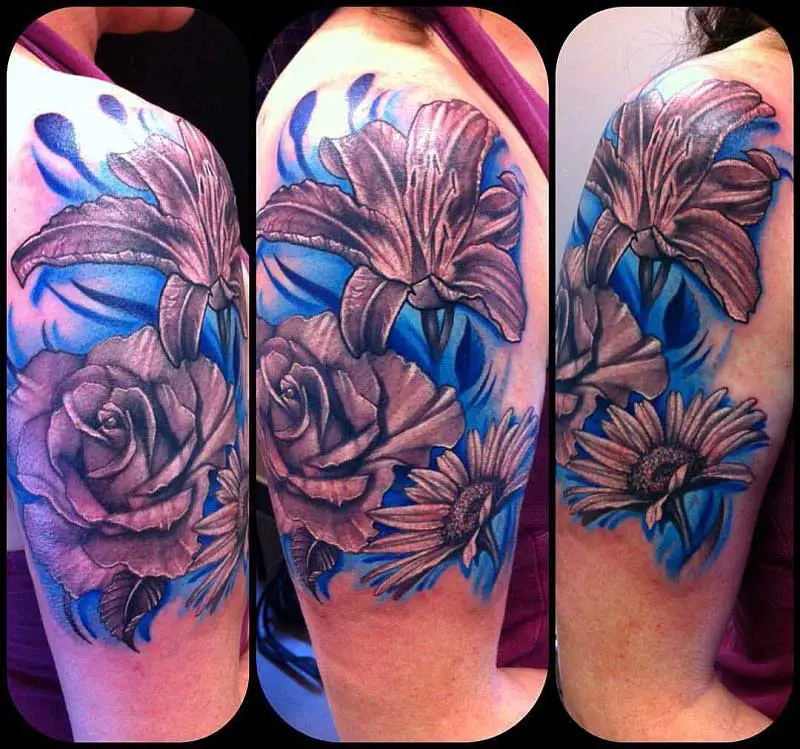
Before we hit the healing part, let’s talk pain during the tattooing itself. I’ve sat through sessions on various spots, and trust me, location matters big time. Knowing this helps you pick designs wisely, maybe even linking to ideas like forearm tattoos for men for less intense areas.
Pain stems from nerve endings, thin skin, and bone proximity. Areas with little fat or muscle padding hurt more because the needle vibrates right against sensitive spots. Factors like your tolerance, artist technique, and session length play in too.
Here’s a chart I put together from my experiences and solid sources. It rates pain on a 1-10 scale, where 1 is barely noticeable and 10 is intense. I averaged info from pros to keep it real.
| Body Part | Pain Level (1-10) | Why It Hurts |
|---|---|---|
| Ribcage | 9 | Thin skin over bones, lots of nerves; breathing makes it vibrate. |
| Armpit | 9 | High nerve density, thin sensitive skin near lymph nodes. |
| Elbow/Kneecap | 8-9 | Needle hits bone directly, little padding in ditches. |
| Ankle/Shin | 8 | Bony with thin skin, vibrations travel up the leg. |
| Hands/Feet | 8 | Many nerves for movement, no fat cushion over bones. |
| Sternum/Chest | 7-8 | Close to bones, especially painful on collarbone or nipples. |
| Spine/Neck | 7 | Nerves near spinal cord, thin skin without muscle buffer. |
| Inner Thigh/Groin | 7 | Sensitive nerves, protected area amplifies sensation. |
| Stomach | 6 | Varies by body type; looser skin can sting more. |
| Inner Bicep | 6 | Thin skin over nerves, friction adds to discomfort. |
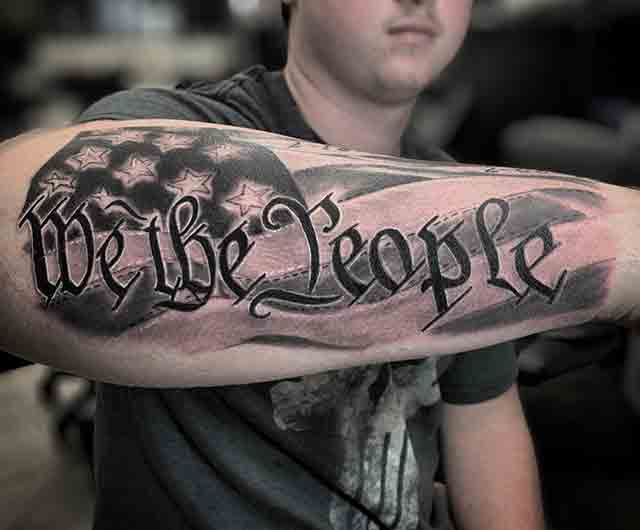
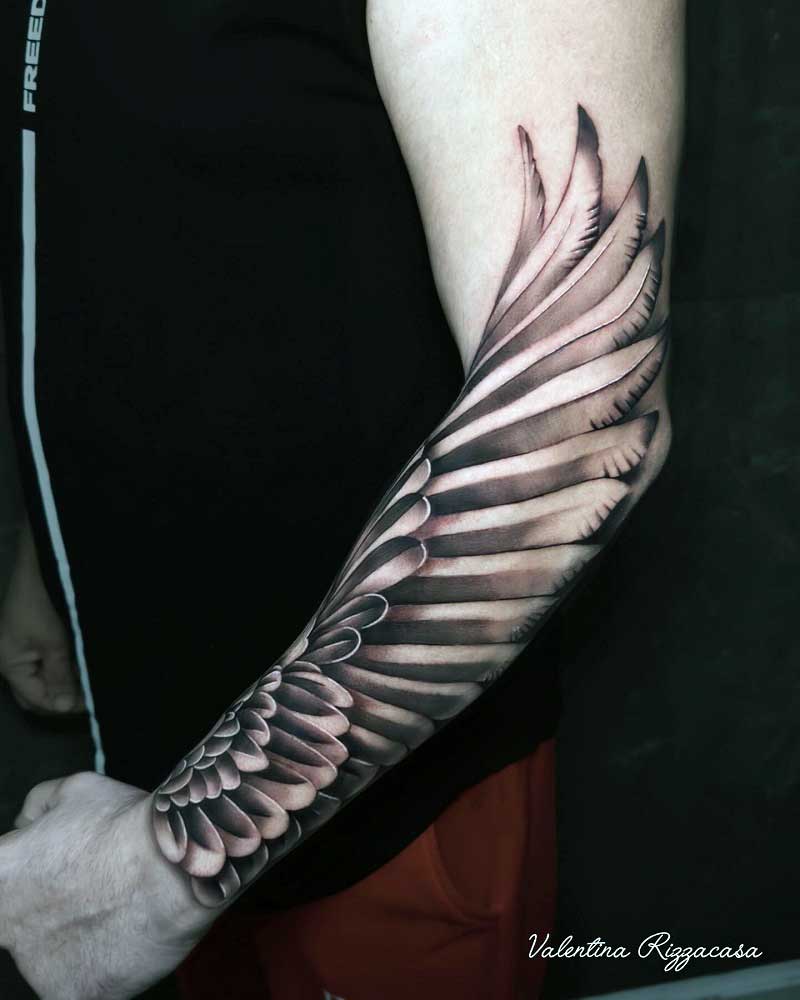
| Forearm | 4-5 | Some muscle padding, but inner side hits radial nerve. |
| Upper Arm/Shoulder | 4 | Thick skin and fat, fewer nerves for easier sessions. |
| Thigh (Outer) | 3-4 | Plenty of muscle and fat, absorbs needle impact well. |
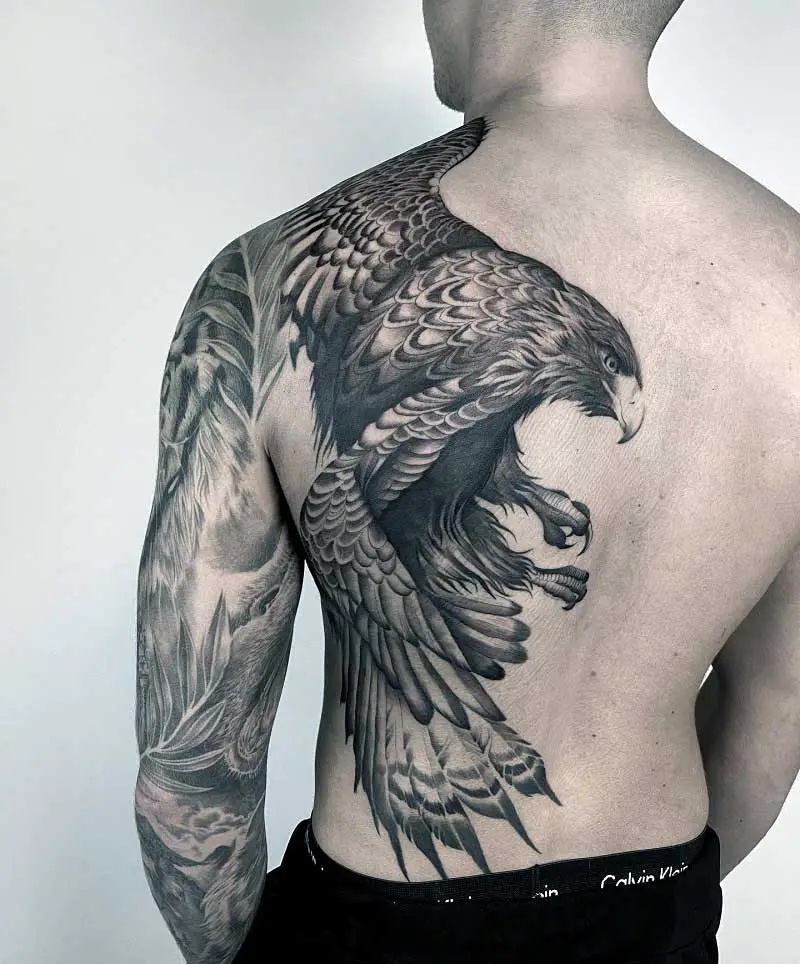
| Back (Upper/Mid) | 3 | Thick skin, away from spine; large area but tolerable. |
| Calf | 5 | Muscle helps, but near ankle or knee ramps it up. |
This chart isn’t set in stone—everyone feels it differently. Women might notice sharper pain in some spots, while past ink builds your tolerance. Larger designs with shading crank up the burn from repeated passes.
Tips to Minimize Tattoo Discomfort
Easing pain starts before you sit down. Hydrate well for days leading up, as dry skin makes the needle drag more. Eat a solid meal an hour before to keep blood sugar steady—no crashing mid-session.
During the tattoo, breathe deep and steady; I focus on music or chat with my artist to distract. Numbing creams work for some, but check with your pro first—they can alter skin texture. Take breaks if it’s a long sit, especially in high-pain zones like the ribs.
Post-session, the sting fades quick, but avoid alcohol or caffeine beforehand—they thin blood and amp bleeding. If you’re new, start small in a low-pain spot to test waters. I’ve found first tattoo mistakes to avoid include ignoring these prep steps, leading to tougher times.
Tattoo Healing Stages
Now, onto the core: tattoo healing stages. This phase turns your fresh art into lasting skin. From my collection, I’ve seen how each stage demands patience and care.
Healing spans 2-4 weeks on the surface, but deeper layers take 3-6 months. Size, location, and your health influence the timeline. Stick close to aftercare to avoid fades or issues.
In my early days, I rushed one stage and paid with patchy ink. Learn from that—let your body do its thing. We’ll break it down step by step.
Stage 1: Inflammation and Oozing (Days 1-3)
Right after, your tattoo looks raw and shiny. Redness swells up as your immune system kicks in. Some oozing of plasma, blood, or ink is normal—it’s your body’s barrier forming.
Pain peaks here, feeling tender like a sunburn. I keep it covered as my artist says, usually a few hours. Wash gently with lukewarm water and mild soap to clear residue.
Swelling might make lines look blurry, but that’s temporary. Pat dry with clean towels, no rubbing. Apply a thin ointment layer to lock in moisture without clogging.
Stage 2: Itching and Flaking (Days 4-7)
By now, scabs start forming—thin and dry at first. Itching hits hard as skin regenerates. Resist scratching; it pulls ink out and risks scars.
Flaking begins, shedding old skin. Your tattoo might dull, but colors brighten later. I slap the area lightly for relief instead of picking.
Keep washing twice daily. Switch to unscented lotion if ointment feels heavy. Loose clothes help avoid irritation in spots like the inner thigh.
Stage 3: Peeling and Scabbing (Weeks 1-2)
Peeling ramps up, with larger flakes coming off. Scabs thicken but let them fall naturally. Picking causes uneven healing—I learned that the hard way on a back piece.
Itch persists, but cold compresses soothe without direct ice. Tattoo looks cloudy, but that’s the top layer shedding. Moisturize lightly to ease tightness.
Avoid soaking—short showers only. Sun exposure fades ink, so cover up. By week’s end, most surface healing shows progress.
Stage 4: Remodeling and Full Recovery (Weeks 3-4 and Beyond)
Skin feels smoother, no more flakes or scabs. Redness fades, and vibrancy returns. Deeper healing continues for months, strengthening the ink hold.
Touch-ups might be needed if fading occurs—send photos to your artist. I always moisturize daily even now for longevity. Protect with sunscreen outdoors.
This stage cements your art. Factors like hydration speed it up. Celebrate here; your tattoo’s integrated fully.
Aftercare Essentials for Smooth Healing
Aftercare makes or breaks tattoo healing stages. I’ve tweaked mine over years for best results. Start with clean hands every touch.
Wash with fragrance-free antibacterial soap—nothing scented to irritate. Lukewarm water rinses without shocking skin. Pat dry gently; air out before lotion.
Moisturize thinly 3-4 times daily. Unscented options like Lubriderm work wonders. Avoid overdoing it—soggy skin breeds bacteria.
Wear breathable cotton clothes. Change sheets often to cut germ risk. No gym sweat or saunas for two weeks—keeps infection at bay.
Diet helps too—omega-3s reduce inflammation. Stay hydrated; it aids cell repair. Skip alcohol; it dehydrates and slows progress.
For unique spots, like cherry blossom tree tattoo on the back, extra care prevents rubbing. Follow your artist’s sheet—they know your ink best.
Spotting Normal vs. Problem Healing
Knowing signs keeps you safe. Normal: mild redness early, oozing that stops quick, itching that eases. Flakes and scabs without pus are fine.
Watch for infection: spreading redness, yellow discharge, fever. Swelling that worsens or hot skin needs a doc check. Allergic reactions show hives or bumps.
From my mishaps, early action saves tattoos. Contact your artist first with pics. Pros spot issues fast.
Don’t ignore pain that spikes after day 4. It might signal trouble. Better safe than scarred.
What Influences Your Healing Timeline
Not all tattoos heal the same. Size matters—big pieces like sleeve tattoos take longer due to trauma area. Location too; flexy spots like elbows stretch and slow things.
Your health plays huge. Smokers heal slower from poor circulation. Diabetics watch for infections. Age factors in—younger skin bounces back quicker.
Ink type affects it. Colors cause more swelling than black. My vibrant lotus tattoos needed extra patience.
Environment counts. Humid spots speed moisture but risk bacteria. Dry climates need more lotion. Adjust based on your setup.
Prep your skin weeks before. Moisturize and sunscreen the area. It primes for faster recovery.
Long-Term Love for Your Ink
Healing doesn’t end at four weeks. Protect from sun forever—fading’s the enemy. I slather SPF 50 on exposed art daily.
Moisturize routinely to keep skin supple. Dryness cracks colors over time. Touch-ups every few years refresh details.
Embrace changes; tattoos evolve with your body. Mine tell stories of growth. Explore designs like meaningful tattoos for men for pieces that last.
Share sessions with pros. Build relationships for advice. My go-to artist guides long-term care.
Enjoy the journey. Each stage builds a connection to your ink. It’s art you wear proudly.
Frequently Asked Questions
How long do tattoo healing stages really take?
Surface healing wraps in 2-4 weeks, but full recovery hits 3-6 months. Varies by person and tattoo details. Patience pays off.
Is itching normal during healing?
Yes, it’s common in stage 2. Don’t scratch—use lotion or pats. If severe, check for allergies.
What if my tattoo peels a lot?
Peeling’s expected in stage 3. Let it happen naturally. Moisturize to ease, but no picking.
Can I swim during healing?
Avoid pools or oceans for 2-3 weeks. Bacteria risks infection. Stick to quick showers.
When should I worry about infection?
Red flags: pus, fever, swelling that spreads. See a doc pronto. Early care prevents big issues.
Does tattoo size affect pain or healing?
Bigger ones hurt more from longer sessions and heal slower from area. Start small if new.
How do I choose a low-pain spot?
Go for outer arms or thighs per the chart. Matches well with ideas like minimalist tattoos.
What’s the best moisturizer for healing?
Unscented, water-based lotions. Avoid petroleum—they clog. Test small first.
Can diet help healing?
Absolutely—anti-inflammatory foods like fish aid. Hydrate and skip junk for best results.
When can I expose my tattoo to sun?
After full heal, with sunscreen. Early sun fades ink fast. Cover up initially.